> ## Documentation Index
> Fetch the complete documentation index at: https://headlessagents.mintlify.site/llms.txt
> Use this file to discover all available pages before exploring further.
# Quickstart for Deployment
> Deploy an agent on Headless Agents with our quickstart guide
***
These steps will guide you through the process of deploying an agent on Headless Agents.
Before you get started, make sure you sign up for a Headless Agents account at [headlessagents.ai](https://headlessagents.ai).
***
## Navigate to the deploy module
Navigate from the dashboard to the [deploy](https://headlessagents.ai/dashboard/deploy) module.
## Select your deployment type
Select the type of agent you want to deploy:
Deploy an agent built on another platform or server using webhooks or HTTP requests. Skip to our [Platform Deployment Quickstart](/quickstart_deployment#platform-deployment-quickstart) to get started.
Create a new agent on Headless Agents.
Skip to our [Standard Deployment Quickstart](/quickstart_deployment#standard-deployment-quickstart) to get started.
## Platform Deployment Quickstart
Deploy an agent built on another platform or server using HTTP requests. Our AI-assisted platform deployment module makes it easy to deploy from any API-based service.
### 1. Navigate to the [deploy](https://headlessagents.ai/dashboard/deploy) module and select platform from the deployment selector.
 ### 2. Copy the HTTP request from your platform's documentation or API reference.
For example:
```bash
curl -X POST 'https://api.yourplatform.com/v1/agent/call' \
-H 'Authorization: Bearer YOUR_API_KEY' \
-H 'Content-Type: application/json' \
-d '{"input": {"prompt": "Hello, world!", "style": "classic"}}'
```
You can leave the
### 2. Copy the HTTP request from your platform's documentation or API reference.
For example:
```bash
curl -X POST 'https://api.yourplatform.com/v1/agent/call' \
-H 'Authorization: Bearer YOUR_API_KEY' \
-H 'Content-Type: application/json' \
-d '{"input": {"prompt": "Hello, world!", "style": "classic"}}'
```
You can leave the YOUR\_API\_KEY placeholder in the HTTP request. We'll use the secrets manager to handle the authentication during the setup process.
Ensure you have the fields configured the way you want them to be called by the agent, users calling the agent will only be able to pass through a single placeholder field.
In this example, prompt is likley the field that you will want to map the user input to, in that case the style field will be continue to be set to classic.
This will be configured during the setup process.
### 3. Begin deployment with the Deployment Assistant
Paste the HTTP request from your platform into the deployment assistant. The assistant will automatically parse all necessary requirements to call your agent headlessly.
```bash
curl -X POST 'https://api.yourplatform.com/v1/agent/call' \
-H 'Authorization: Bearer YOUR_API_KEY' \
-H 'Content-Type: application/json' \
-d '{"input": {"prompt": "Hello, world!", "style": "classic"}}'
```
If your request requires authentication, the deployment assistant will ask you to import an API key from the [Secrets Manager](https://headlessagents.ai/dashboard/secrets).
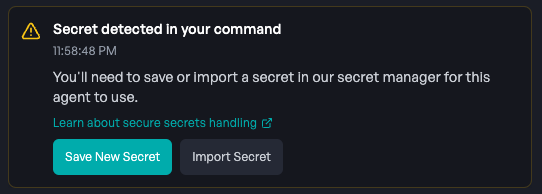 The deployment assistant will ask for permission to send a test request to verify the connection. This ensures your API key and configuration are working correctly.
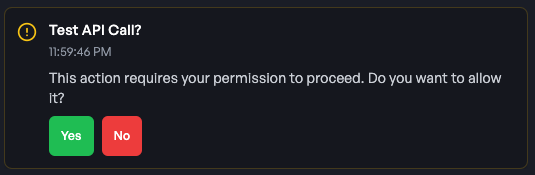 You'll see a success message when the test is complete, confirming that your external agent is accessible.
After a successful test, the deployment assistant will ask you to map the user's input to the correct parameter in your API request.
You'll see a success message when the test is complete, confirming that your external agent is accessible.
After a successful test, the deployment assistant will ask you to map the user's input to the correct parameter in your API request.
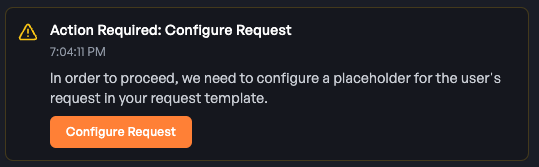 This is where you will specify where the user's input will be passed through.
When the user sends a prompt to your agent, the prompt will be replace the
This is where you will specify where the user's input will be passed through.
When the user sends a prompt to your agent, the prompt will be replace the
User Input field in your API request.
Click the field you want to replace or drag the User Input placeholder to the correct value position in your API request.
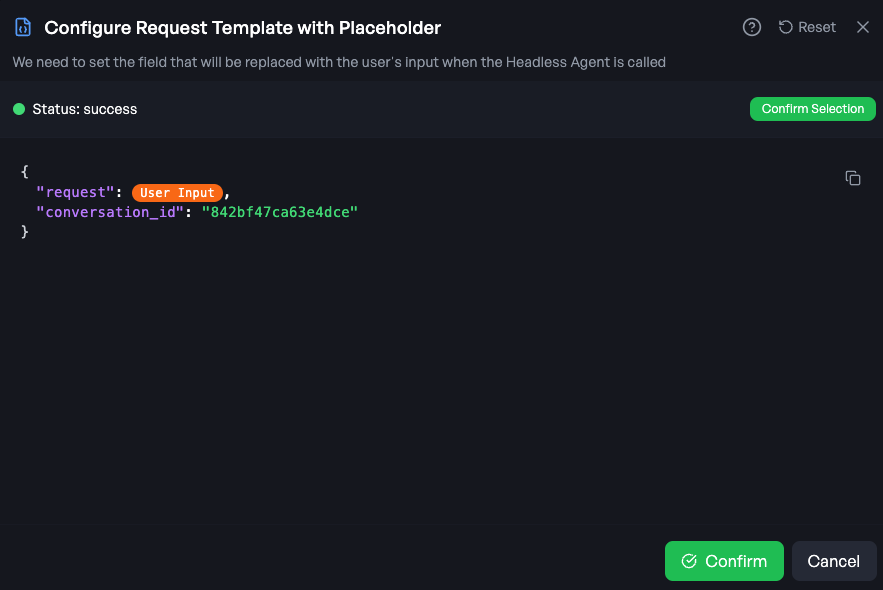 Next, you'll be asked to run another test, but this time with a sample user input passing through.
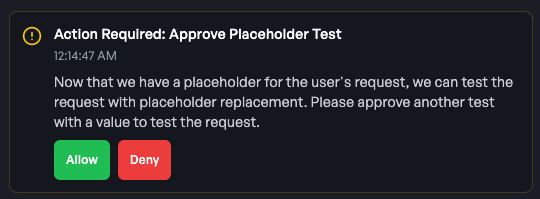 Enter a sample prompt to replace the
 User Input placeholder in the test.
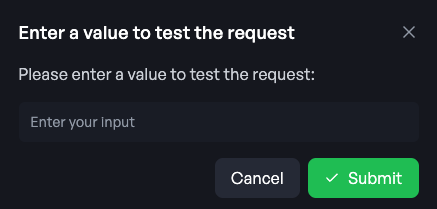 The deployment assistant will send another test to ensure everything is working as expected.
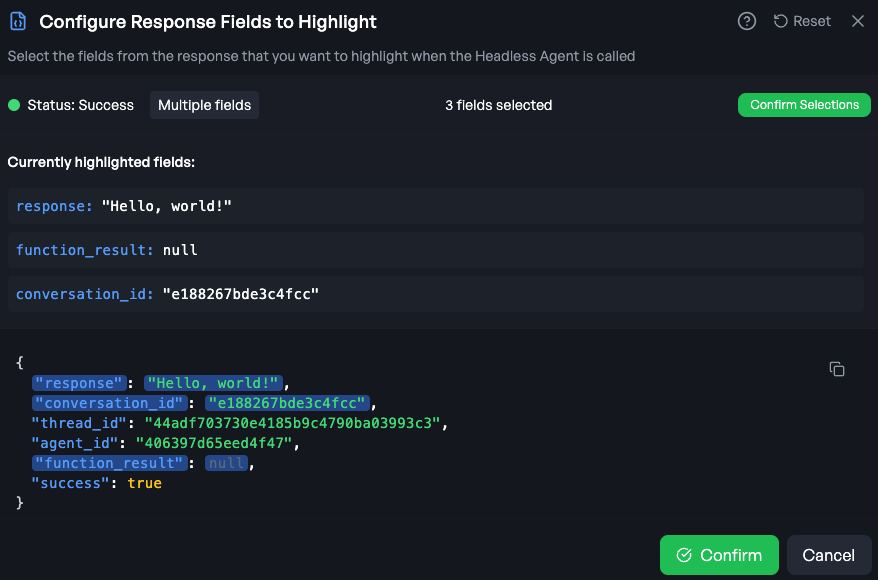
After a successful test, the deployment assistant will ask you to specify what part of the API response you want to return to the user.
The deployment assistant will send another test to ensure everything is working as expected.
After a successful test, the deployment assistant will ask you to specify what part of the API response you want to return to the user.
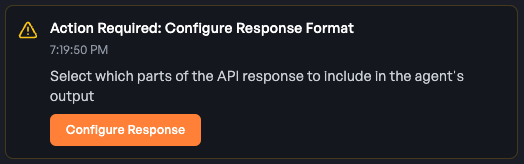 This ensures users receive only the relevant information from your agent.
Click the field you want to return to the user in the
This ensures users receive only the relevant information from your agent.
Click the field you want to return to the user in the response field of the agents response.
You can return a single field:
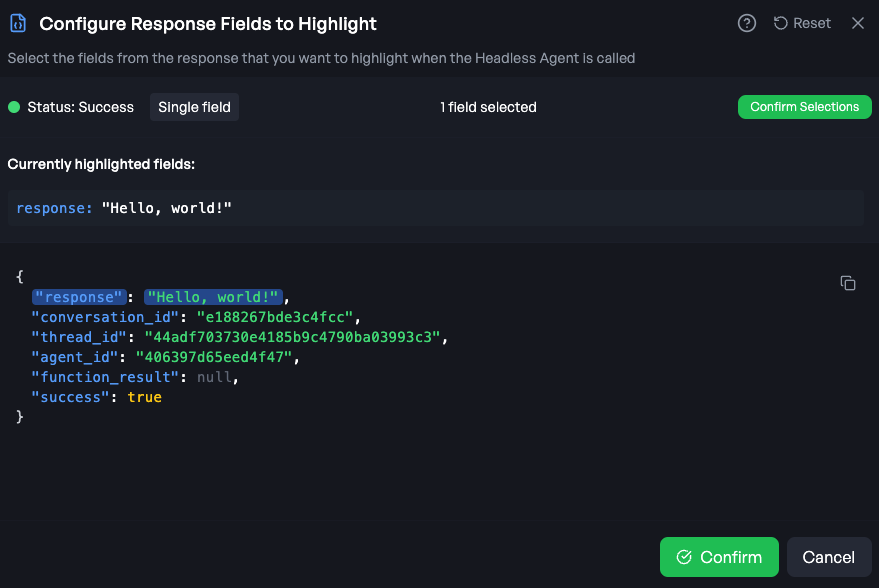 Or select multiple fields to return:
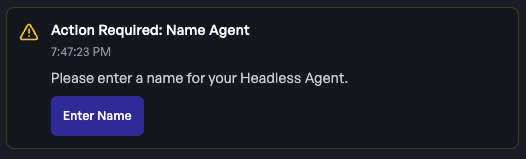
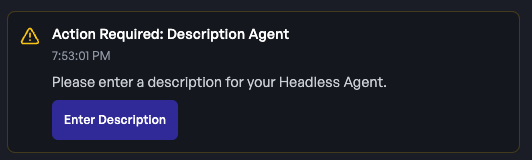
 Finally, add a name and description for your agent.
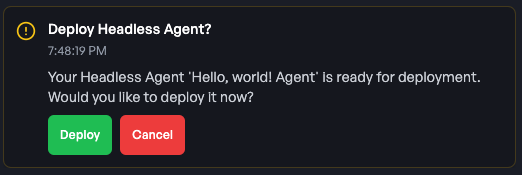
 Your agent is now ready to be deployed. Click
 Deploy!
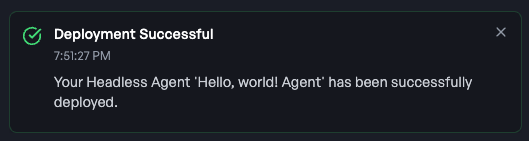 Go to the [dashboard](https://headlessagents.ai/dashboard) to view your deployed agent.
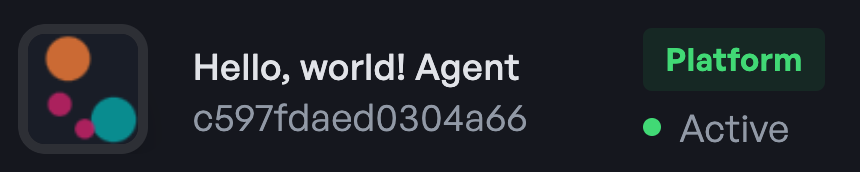 **Congratulations! You've deployed your platform agent.**
Your agent is now available anywhere!
***
## Standard Deployment Quickstart
We reccomend you deploy one of our pre-built templates to get started. You can deploy the agent in just three clicks from the [deploy module](https://headlessagents.ai/dashboard/deploy).
**1. Select a template from the dropdown menu.**
**2. Test the function provided to the agent, this function will serve as a tool your agent can call if it chooses to.**
* Agents built on Headless Agents can call python functions. Head over to the [Function Guide](/quickstart_deployment#function-guide) to learn more about function calling on Headless Agents.
* When the agent calls a function, it runs in a secure, cloud-based sandbox.
* If your function requires authentication, like an API key, add it to the [Secrets Manager](https://headlessagents.ai/dashboard/secrets) and it will be used by the agent when the function is called.
* Visit the [Secrets Manager Guide](/dashboard/secrets) to learn more about how agents work with secrets.
**3. When the function test is successful, click 'Deploy Agent'!**
**Congratulations! You've deployed your platform agent.**
Your agent is now available anywhere!
***
## Standard Deployment Quickstart
We reccomend you deploy one of our pre-built templates to get started. You can deploy the agent in just three clicks from the [deploy module](https://headlessagents.ai/dashboard/deploy).
**1. Select a template from the dropdown menu.**
**2. Test the function provided to the agent, this function will serve as a tool your agent can call if it chooses to.**
* Agents built on Headless Agents can call python functions. Head over to the [Function Guide](/quickstart_deployment#function-guide) to learn more about function calling on Headless Agents.
* When the agent calls a function, it runs in a secure, cloud-based sandbox.
* If your function requires authentication, like an API key, add it to the [Secrets Manager](https://headlessagents.ai/dashboard/secrets) and it will be used by the agent when the function is called.
* Visit the [Secrets Manager Guide](/dashboard/secrets) to learn more about how agents work with secrets.
**3. When the function test is successful, click 'Deploy Agent'!**
*Note: If the function test is not successful, you can edit the function and try again.*
**Congratulations! You've deployed your first agent.**
Head over to the [Call Agent Guide](/quickstart_deployment#call-agent-guide) to learn how to call your agent.
To learn more, read the full guide: [Standard Deployment Guide](/quickstart_deployment#standard-deployment-guide).
***